
Rig It Right: Prepping AI-Generated 3D Characters for WebXR in Blender
Rigging AI Mesh Assets for XR in Blender
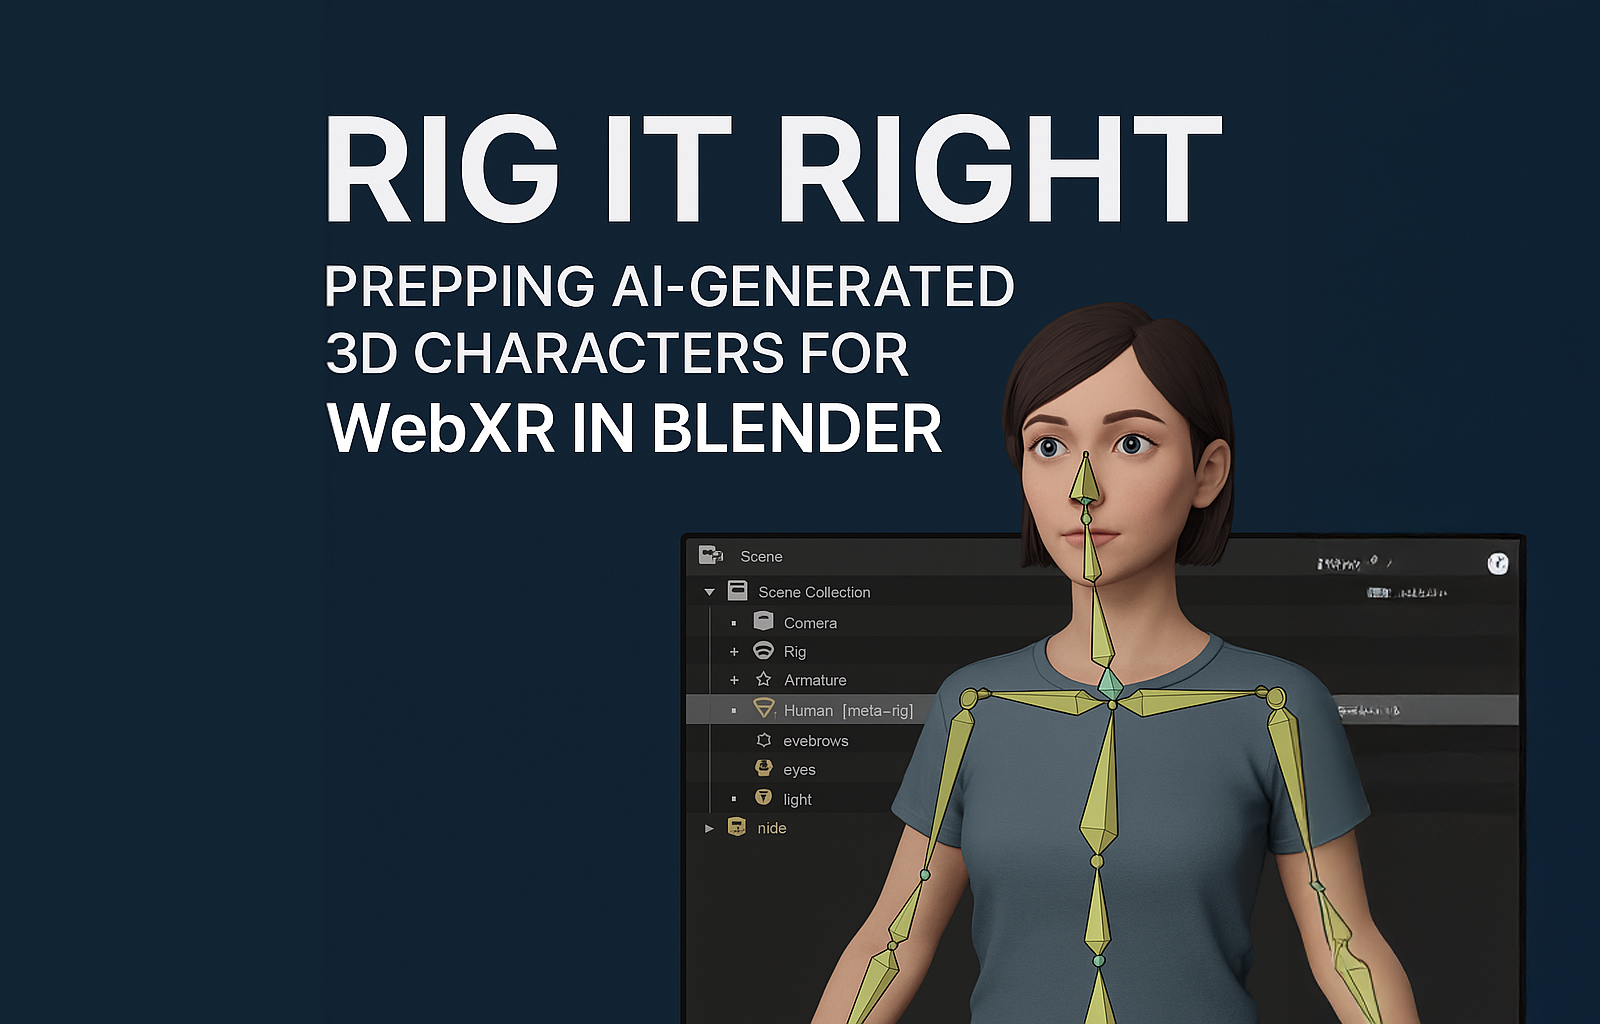
As AI-generated 3D models become more accessible, artists and developers are discovering that even the most realistic avatars need structural fine-tuning before they're ready for XR. While tools like Tripo3D, Meshy, and Hunyuan can generate impressive meshes with some rigging or animations, most assets still need custom skeletons, clean weights, and XR-ready optimization. This guide walks through using Blender to prep AI-generated models for real-time XR — with Mixamo for speed and Rigify for precision.
🔧 Why AI-Generated Meshes Need Cleanup
While AI services can deliver photorealistic characters or creatures, they often fall short when it comes to animation readiness. Common problems include:
-
Broken or incomplete rigging
-
Unusable joint hierarchies for real-time engines
-
Bad weight painting
-
Extra geometry or inconsistent topology
These issues can hinder your ability to animate or integrate the model into WebXR pipelines.
🔍 Overview of Tools Like Tripo3D, Meshy, and Hunyuan
Here's how each AI service currently stands:
-
Tripo3D: Great for fast character generation with basic rigging — ideal for prototyping or still scenes.
-
Meshy: Specializes in converting text or single images into clean topology with textures. Useful for concepting and posing.
-
Hunyuan 3D: Emerging as one of the more robust full-body generators with animations, though rigs often need manual retouching.
These are excellent starting points, but Blender is where the real prep begins.
⚙️ Quick and Dirty: Using Mixamo for Rapid Rigging
When to Use:
-
For humanoid characters with symmetrical poses
-
When time is tight, and you need a fast result
Steps:
-
Export your model from Blender as .fbx
-
Upload to Mixamo
-
Auto-rig and test basic animations
-
Download the rigged .fbx with animation
-
Import back into Blender for fine-tuning
Caveats:
-
Not ideal for creatures or stylized rigs
-
Hard to tweak bone hierarchy later
🧠 Custom Rigs with Rigify: Best for Control and Quality
When to Use:
-
For full-body avatars with animation systems
-
When you need clean IK chains and facial bones
Steps:
-
In Blender, add a Rigify metarig
(via Add > Armature > Human (Meta-Rig))
-
Match the bones to your character’s mesh
-
Generate the Rigify rig
-
Use Weight Transfer or manually paint vertex groups
-
Test and export your rig for use in WebXR
🧩 Exporting for Game Engines and WebXR
Once rigged:
-
Optimize your mesh (remove unused vertices, clean topology)
-
Export as .glb or .gltf
-
Test in engines like Three.js or Babylon.js
-
Integrate into WebXR projects with proper animation loops and controllers
🎯 Conclusion
Rigging is often the invisible backbone of immersive 3D characters. With AI accelerating asset creation, we still need tools like Blender to take those assets across the finish line. Whether you're building cinematic moments in XR or real-time interactive experiences, a clean rig is the foundation for fluid performance. Mixamo is your shortcut, and Rigify is your scalpel — both essential depending on the job.
dulce303 🍬